
If you have your eye on some decorator pillows at the home store but don’t want to spend $75 on each one, you can try creating similar items yourself using a few tools at home. Anyone who has ever painted on a blank T-shirt probably has the experience needed to try this simple screen printing technique. Here are the items, directions, and inspirations needed to get you started.
Supplies
All of these items can be found at a craft store. Though the initial cost may seem high, you can use these materials over and over to maximize your investment. There are other variations for supplies, but these are the basics.
- Sheer fabric (even curtains work in a pinch!)
- Decoupage adhesive
- Paintbrush
- Pencil
- Wooden picture frame
- Fabric to be painted
- Permanent fabric paint/ink
Prepare Your Frame
Remove the back of the frame. You just want the wooden square or rectangle. Using the adhesive and fabric, glue the fabric to the edges of the back side of the frame one side at a time, letting the glue dry between sides. The fabric should be very taut in the end. Flip the frame over and also apply glue around all the edges of the frame. This will prevent ink from leaking during your project.
The Design
Choose your design and print it on a piece of paper or create your own drawing. Lay the screen you just made face down on top of the paper, and use the pencil to lightly trace the design you just made. Now, turn the frame over and apply the adhesive anywhere you don’t want the ink to go when you print. Let it dry and then check for holes in the glue. You may need a second coat of glue.
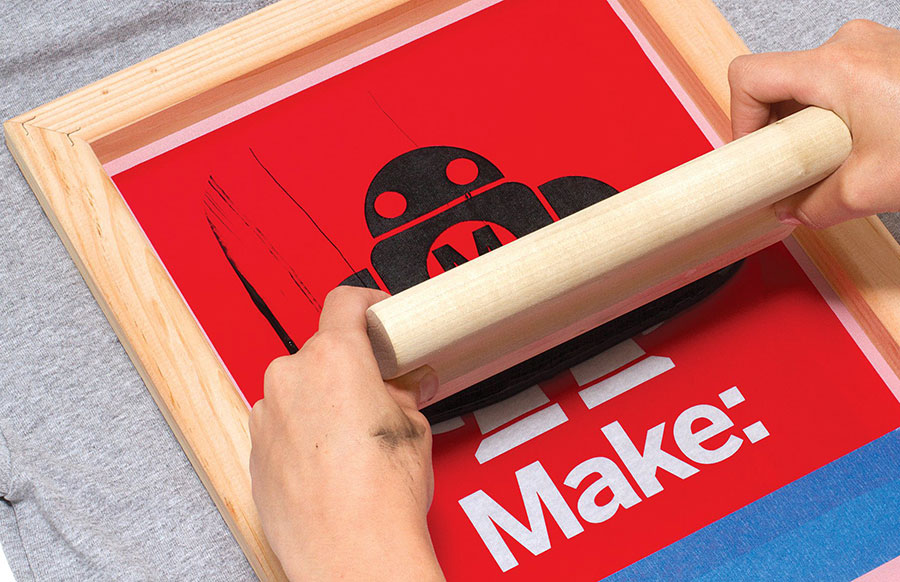
Time to Print
Place the fabric you want to print on a flat surface and smooth out any wrinkles. Put the frame face down over the fabric. Pour your ink or paint onto the screen above the design and all the way across it. Don’t let it get into your design yet! Use your squeegee at a 45-degree angle to pull the paint one time across your design. Gently lift the screen and rinse off the paint. Let air dry.
Admire Your Work
Take a look at the finished product! It may take a little practice to get it perfect, but now you have a screen and design all ready to go. You can alter the colors you use or the directionality of the design to create all kinds of different items. Here are some project ideas:
- Print a canvas apron with a food-related design
- Make a table runner match the décor of your dining room
- Create team T-shirts or decorate a baby bodysuit
- Give a boring throw pillow a designer look for less
- Screen print kraft paper and use it as gift wrap or product packaging.
Screen printing may seem like a complicated process full of mess and specialized equipment, but it’s truly a simple process that can be done at home. If you take the time to set up your supplies and screens, you can create many beautiful items all in one afternoon.
