
Setting up a home security system stands out as a top-notch method to discourage burglars and safeguard your residence. The evolution of wireless systems and user-friendly DIY kits has significantly simplified the process for the typical homeowner. This article furnishes a comprehensive, step-by-step guide on how to install a wireless home security system independently or opt for professional assistance, especially when considering engaging a skilled CCTV installer.
Choosing the Right Security System
The first step is deciding which type of security system best suits your needs. Key options include:
Wired Systems: Hardwired into the home’s power supply, wired systems offer more reliability and security. However, installation costs tend to run higher for wiring and professional installation.
Wireless Systems: Operating on battery or plug-in power, wireless systems provide more flexibility and easier DIY installation. However, wireless signals can encounter interference issues.
DIY vs. Professional Installation: DIY kits provide affordability and customization, but you handle the entire installation. Professional installation costs more but covers the entire process.
For DIY installation, wireless security systems provide the best experience. Costs range from $200 up to $2,000 depending on components and subscription fees of $10 to $50 per month. Specialized sensors like smoke detectors increase expenses.
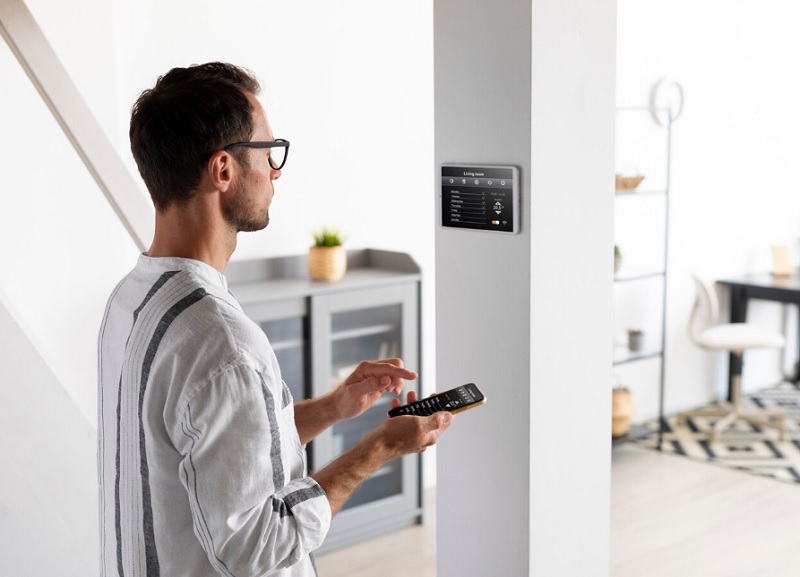
Prepping for Installation
Before installing, purchase all necessary system components and tools. It’s vital to get a system scaled to fit your home’s size with enough entry sensors, motion detectors, cameras, and so forth. Also, gather tools like a power drill, screwdrivers, ladder, wire strippers, etc.
Step-by-Step Installation
Follow these key steps to properly install your new wireless home security system:
- Install the base station in a central location and plug into a power outlet. This enables communication with all system components.
- Mount the keypad/control panel near your main entry door to arm/disarm the system. Program in login passcodes.
- Install entry sensors on all exterior doors and windows. Peel/stick sensors onto frames and align magnets.
- Position motion sensors in key interior rooms facing entryways to detect movements.
- Set up IP cameras overlooking critical indoor and outdoor areas. Connect to WiFi.
- Follow product manuals to correctly link and sync all system components to the base station.
- Test sensors and camera feeds to confirm everything is working and communicating properly.
Appointing Professional Installation
If handling a home security install seems too complex, hiring professionals ensures proper setup and function. Firms like Lip Security specialize in complete CCTV installation and support services. Benefits include:
System Design Experience: Professionals can survey your home and design an optimized security system meeting all needs and budget requirements.
Full Installation Services: contracting installation ensures correct placement, wiring, syncing, programming and testing of cameras, sensors, control panels, etc.
Post-Install Support: Reputable security firms also provide ongoing system monitoring, troubleshooting fixes, maintenance checks and upgrades to preserve performance.
The Importance of Home Security
Given the peace of mind from knowing your home and family are protected against intruders, investing in a quality home security system – whether DIY or installed by professionals – is one of the wisest decisions you can make. And advancements in wireless systems have now put this level of home protection within most budgets. Reach out to security companies like Lip Security if wanting to explore professional installation and monitoring options.
